


BACK TO SCHOOL D.I.Y.
It's the three word phrase almost every student dreads to hear - "Back to school!" HAHA! Well for my case I'd like to see the good in every bad and one good thing about going back to school is shopping for school supplies!!!! ((yaaaaassss school suppliesssss)) Lol okay eccentric fangirling aside, I have prepared 3 school supply DIYs for you to #create!

FELT PENCIL CASE
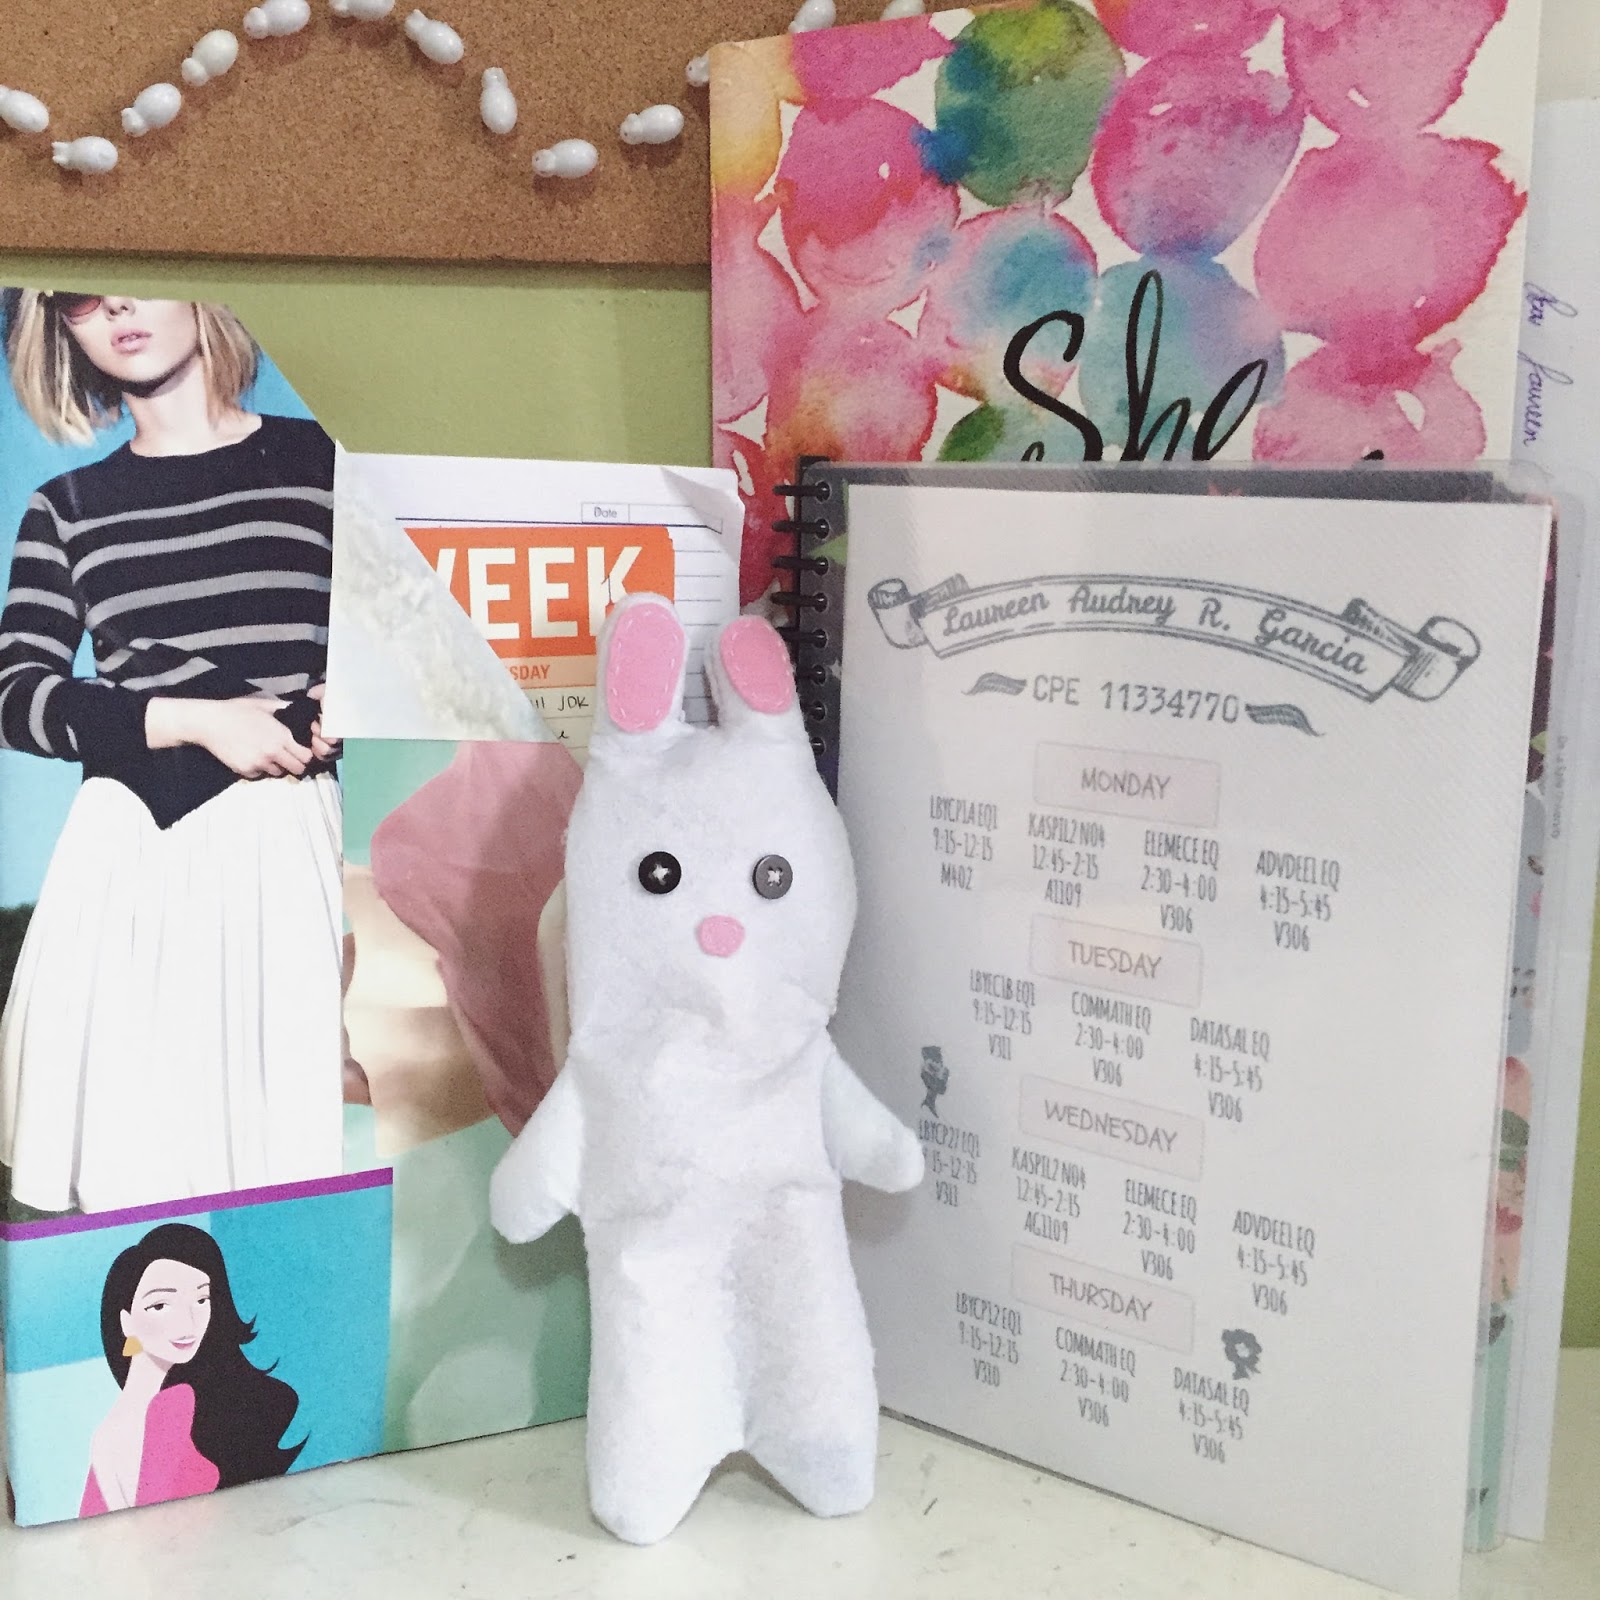
I got this idea from one of my favorite YouTube vloggers @LaurDIY. She used fleece fabric for her seal pencil case and I'm using felt because I couldn't find any fleece huhu. A felt pencil case can be made into any shape but I chose to create an animal as well. If you know me personally you would already guess what animal I would make - A BUNNY, DUH!

*felt, zipper, zipper lock, buttons, scissors, pencil, needle, and thread*
INSTRUCTIONS
Begin by neatly sketching your desired outline then cutting one side of the drawing while leaving an estimated millimeter of allowance. Fold the felt in two in order to outline a perfect symmetry.


Use the first cutout to trace the second one then estimate and mark the desired length of your zipper. Cut out the needed gap on one of the fabrics for the zipper to fit perfectly then begin sewing.


Once you're done sewing in the zipper, start sewing the rest of your chosen details for the face. Pin the two fabric cutouts with the inside out and use the pencil sketch as a guide for the final sewing.
Note: Leave a portion not sewed together so that it would be easy to flip it right side out.


Finally, pull the inside out of the not sewed portion. Sew the portion together through the open zipper to finish creating the pencil case.


Did you survive the sewing or nah?? Look how cute my bunny pencil case is with Rebecca and my other bunnies!!!

PERSONALIZED NOTEBOOK
I have been so obsessed with finding the right notebook to invest in and I happen to have found the perfect one miles away at the National Bookstore in SM Baguio! It's the Campus ACRYL notebook and I can give you 3 reasons why it is worthy of your (265 Php) money teehee.
1. It comes with 4 dividers - which means you can have at the most 4 subjects in one notebook
2. It uses filler paper - which is very earth friendly 'cause you can just remove and recycle the unused paper unlike the binder notebooks with Cattleya filler
3. It is custom friendly - as someone who loves anything customizable (ehem Project Pie), this is definitely a plus as I can play with the design in different ways

*wrapping paper, ruler, scissors, pencil, tape, glue, notebook*
INSTRUCTIONS
To spice things up, I used two sizes of floral wrapping paper for each divider to create a pocket.
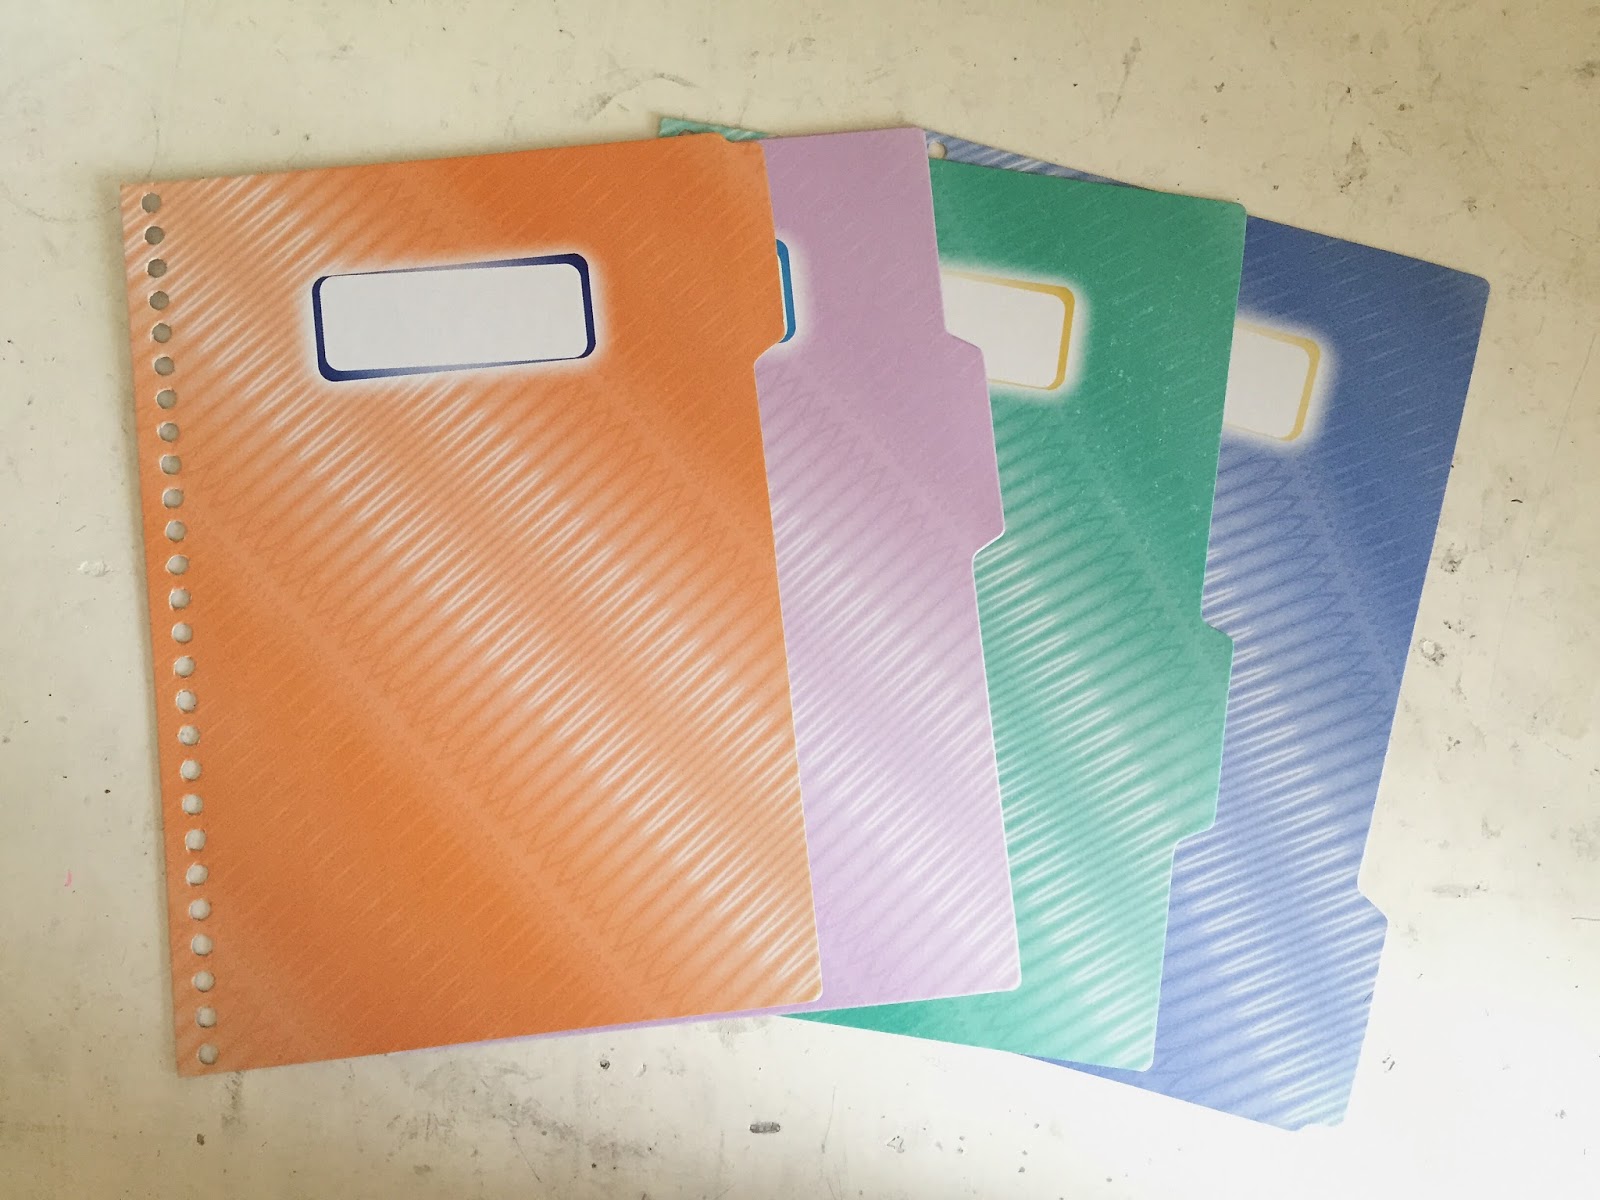

So simple yet so pretty!


As for the front cover, I created and printed out my schedule and taped it to the front since I am such a forgetful person. P.S. this is my old schedule. I still haven't made a new one for this year whoops


CEREAL BOX FILE ORGANIZER
As a college student, I find it very important to keep all my school notes just for future reference that's why I have always wanted to own a desk file organizer that I see so often in office supply shops and bookstores. The bad side to it though is that they are really expensive! Good thing it has occurred to me how simple the design really is and that I could make it myself so I did!!

*cereal box, ruler, scissors, pencil*
INSTRUCTIONS
Measure, cut, then cover! So simple, right?


No comments:
Post a Comment